Today I'm excited to share with you a project that we did to help define our entry way. We started this project on 4th of July weekend, but it always takes us longer than expected to complete projects than I think. We actually finished it a couple days before leaving on vacation. Here's what that space looked like before;
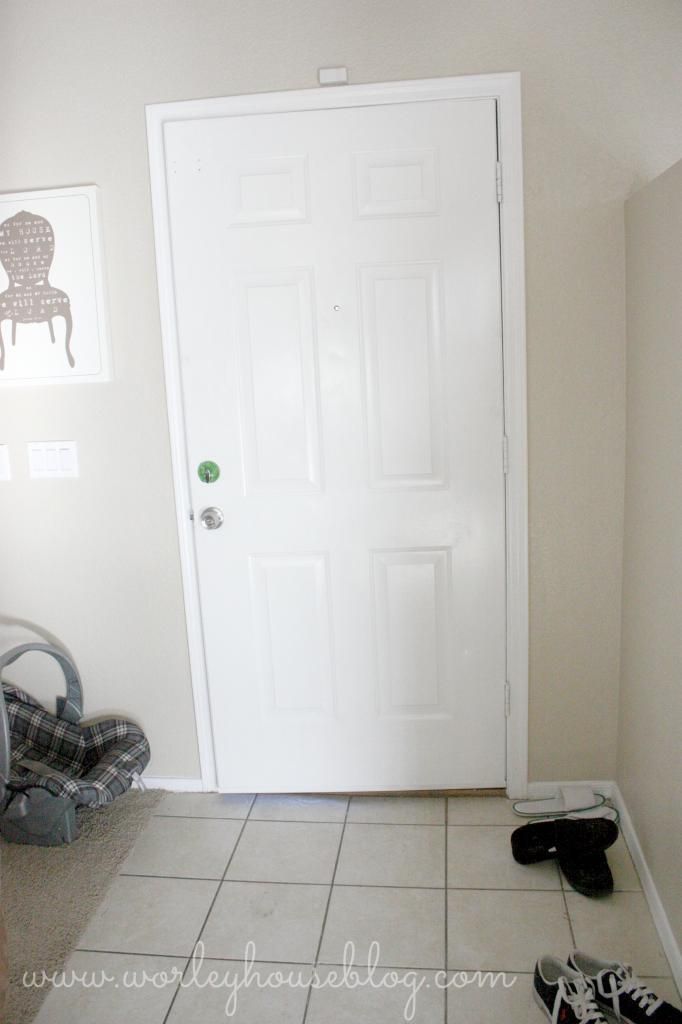
I realized that I didn't get the best before picture and when I was going through them this was the best one, but we're talking about that wall to the right. I've starred at this wall so much over the last couple months. We don't have a really big entry way, it all just leads right into an open living room. We wanted to define this space as an entry way as much as we could, after browsing a few blogs and coming up with some ideas I showed Hubby this post which was our inspiration for the project.
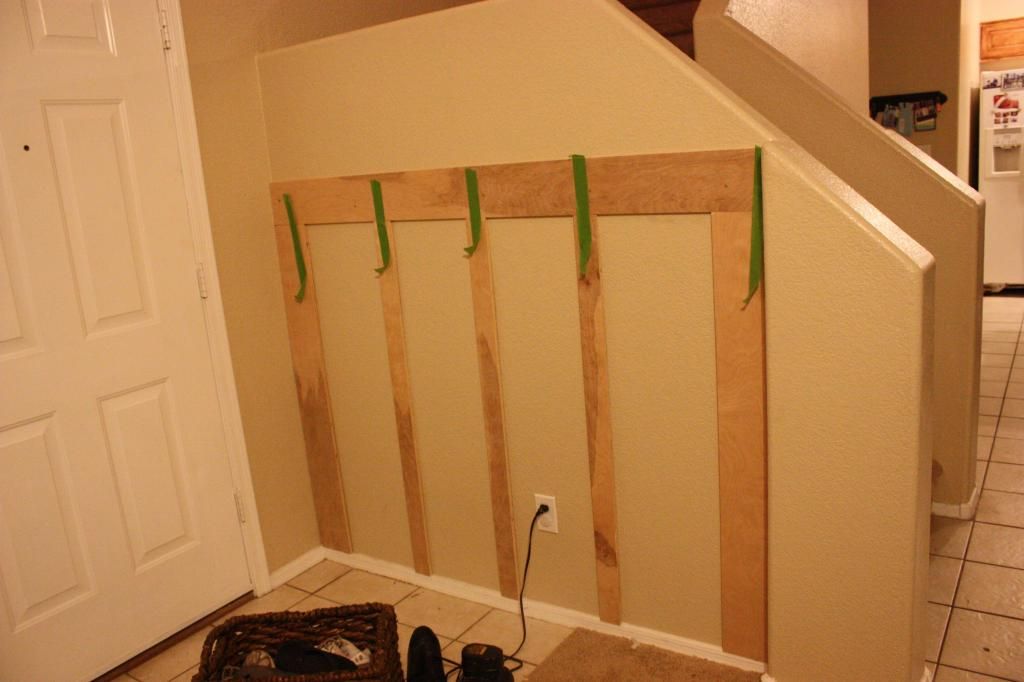
We decided to screw our boards right into the studs like the tutorial suggested. We headed to Home Depot to get our supplies. We ended up using a thinner bender board than what was originally in the tutorial since our space wasn't as big and these boards are a little thinner. Everything else we did the same as the tutorial.
We used Frog tape to keep the boards in place while we measured and checked to make sure things we level.
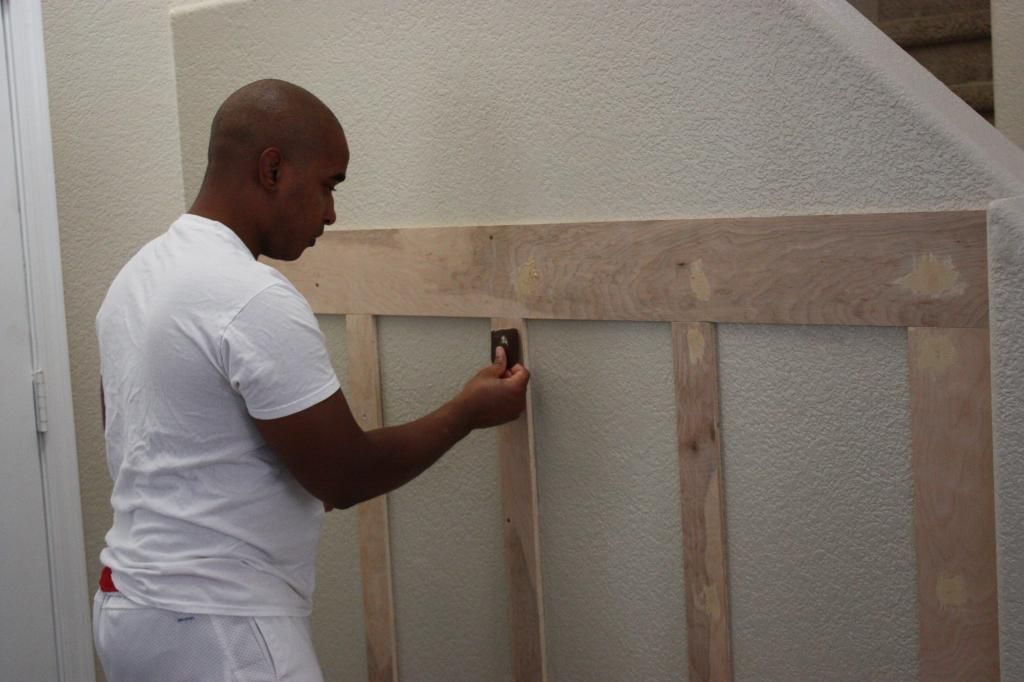
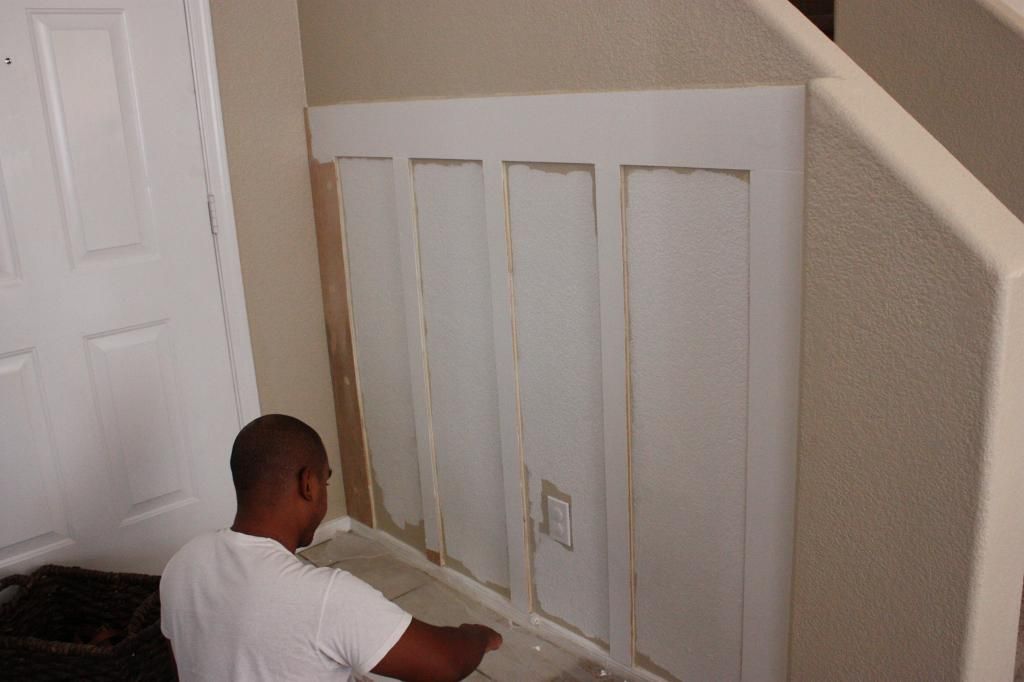
Filling, sanding, repeat.
After that we painted them a crisp white. Olympics "Snow" in semi gloss. We used the paint + primer for even coverage since I didn't want to do two steps. Which worked great and covered well.
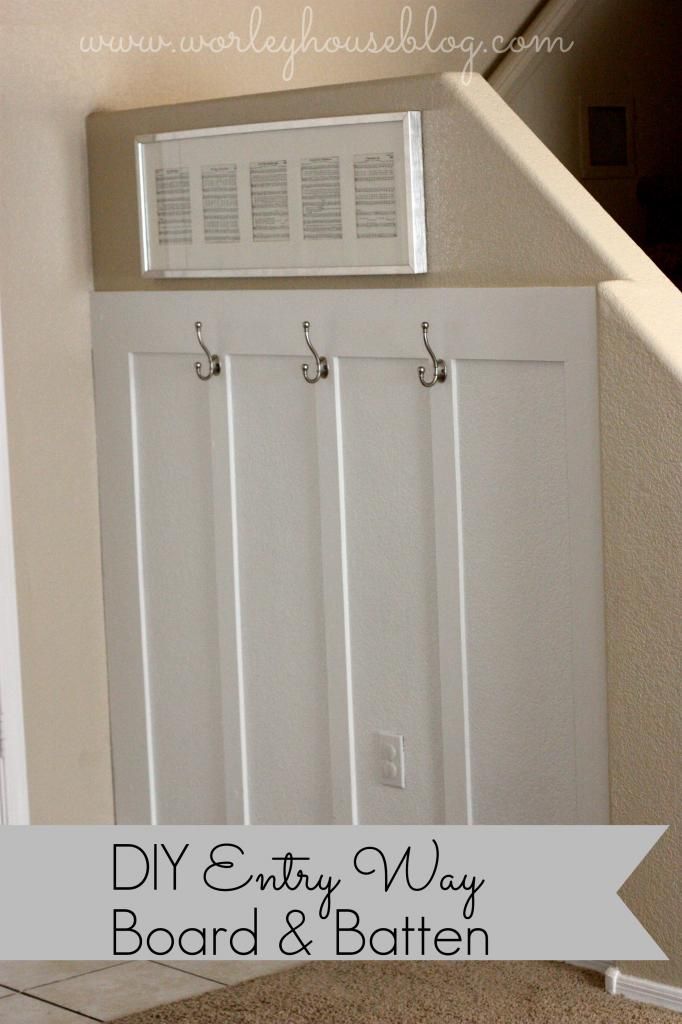
Here's the completed after; we wanted this space to have the style meets function factor. We wanted it to look pretty but also be a space where we could hang coats and put our shoes.
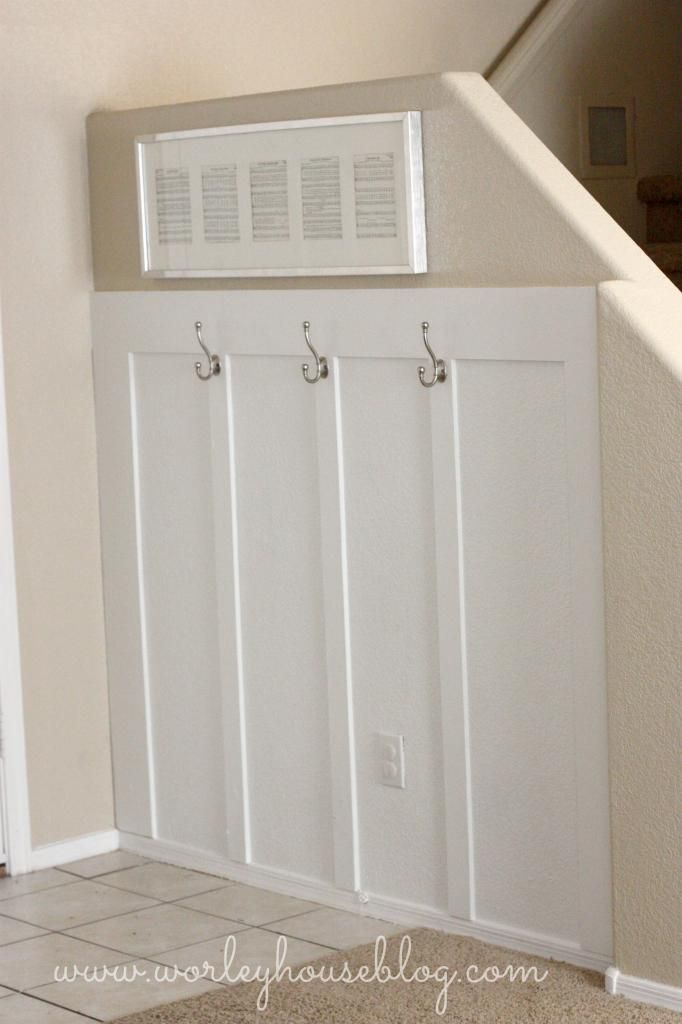
We both really love how it turned out after it was all painted and the hooks were in. I love the clean lines and the crisp look with all the white.
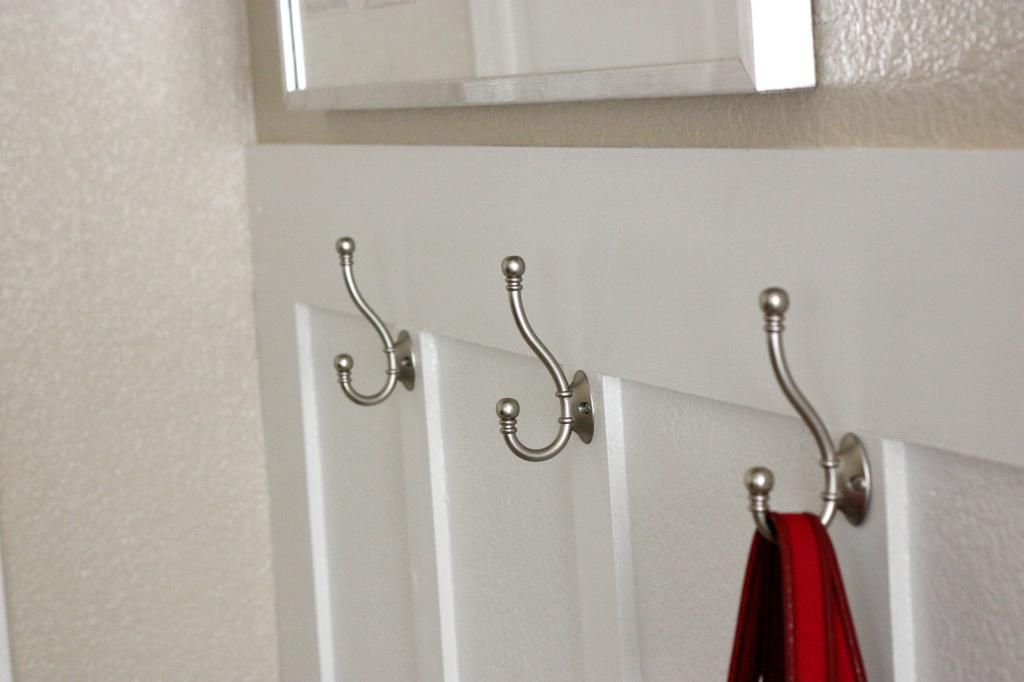
We added three brushed nickel hooks for hanging coats and bags when we aren't using them. And it's easy access for when guests come over and when we come home to kick off our shoes and hang my purse.
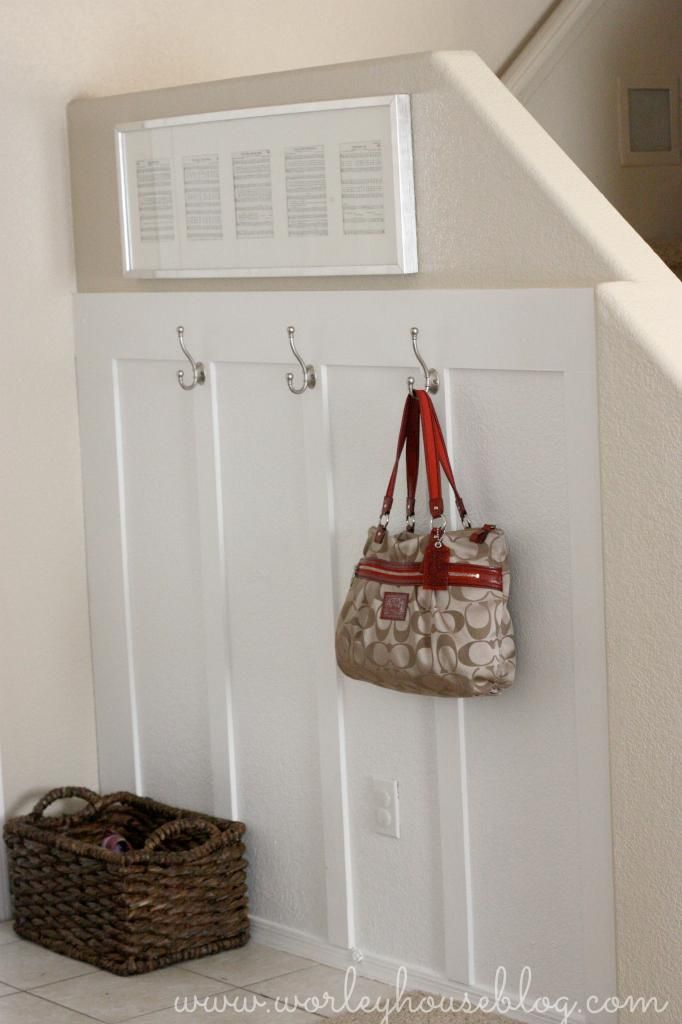
We added a basket to store one or two pairs of shoes when we're not wearing them. It helps keep the shoe clutter at bay.
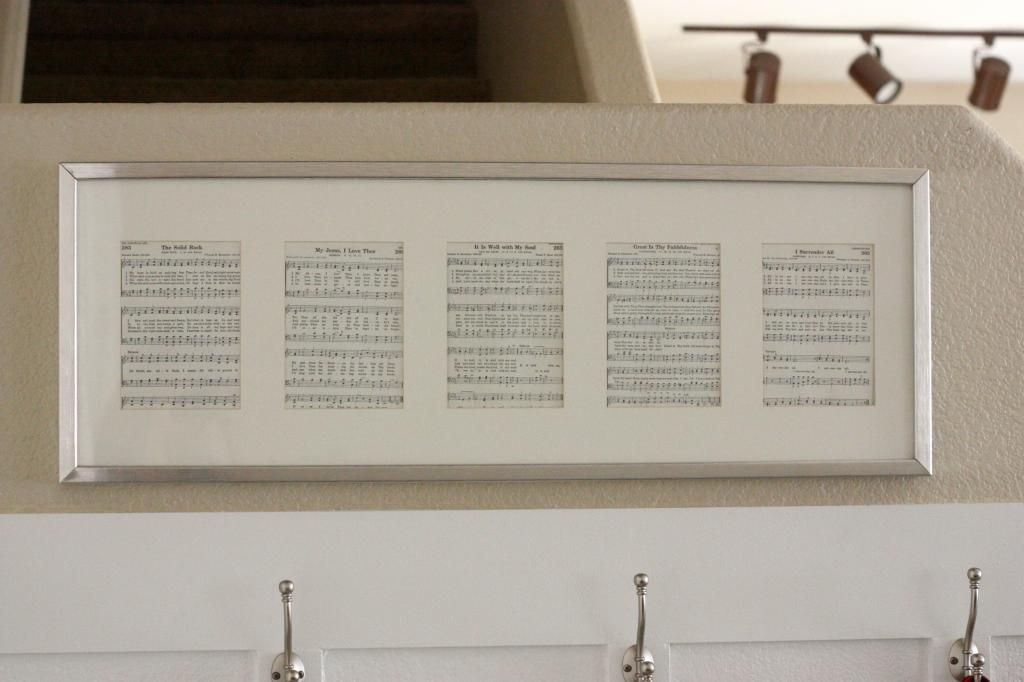
Let's take a look up close at this frame. I took an old frame I had sitting around and took some hymns out of a book and placed them in the frame. These five hymns are my faves and they mean a great deal to me, I placed them right where I will see them every time I walk into our home.
Budget Breakdown:
paint $14
hooks $9
caulk, screws, sandpaper, wood filler we already had on hand
Source List:
basket: World Market
silver frame: Ikea
Hooks: Home Depot
White Paint: Olympic Paint + Primer in Snow


