Photobucket Photobucket Photobucket Photobucket Photobucket

January 30, 2012

Blog Roll Monday: I AM Momma


A new blog I love served up fresh every Monday! I tell you why I love it and why you should be reading it too!
*******


I am Momma is a fun little blog that has a good mix of just about everything! Some musings about motherhood, some crafting, and some lessons of learning mixed it.

Cheri is a mother of two boys! She's a singer/song writer. Wife, craft er and lots more. Her blog is filled with lots of really fun projects that's what drew me in at first! I mean who wouldn't love her awesome son's super hero room, or the re done play room? One of my fave tutorials is her up cycled shirt dresses, I plan on making one of these pronto for Ava!

Go to her blog for fun easy arts and crafts.

Go to her blog to for Wake Up Wednesday posts! Original and fun!

She's was on Martha last week! Isn't that awesome! Go here to visit her blog!

January 27, 2012

A Day in:: January 23, 2012

It's been a while since I documented a full day in our lives. I wanted to start doing this again since our days looks drastically different than they did almost a year ago. The biggest change you might ask? It's been in our schedule more specifically Hubby's work schedule.

You may remember if you've been reading for any amount of time that Hubby works till 7 pm, and I do this crazy run across town pick Ava up from day care and then drive back across town and get him from work. Getting us home about 7:30 pm nightly, and eating dinner around 8 pm. I'm happy to rejoice that the Lord heard my prayer and he answered it by giving my Husband a new schedule putting him to work earlier, and getting home earlier.

This is going to be a BIG welcome change to our family, and I'm excited about giving us more time together during the week nights, more time in general as a family. It's amazing how just a few hours can give you so much.

So now, here's what our days look like on a day of the week.

It was Monday January 23rd.

5 AM: My alarm goes off, I lay there and debate just how much longer I can sleep in before finally getting up to get ready for the day. True story.

5:30 AM: Hubby is up and getting himself ready and then gets Ava up while I am still getting ready.

5:45 AM: We're getting breakfast for ourselves packing our lunches and getting everything ready to leave for the day. 

6:15 AM: We're heading out the door loading in the car on our way to day care. 

6:30 AM: We're at daycare just down the road from home. I take Ava inside get her situated and then we're off headed towards Orion's work. 

7 AM: Drop off Orion at work.

8 AM: I arrive at work.

Photobucket

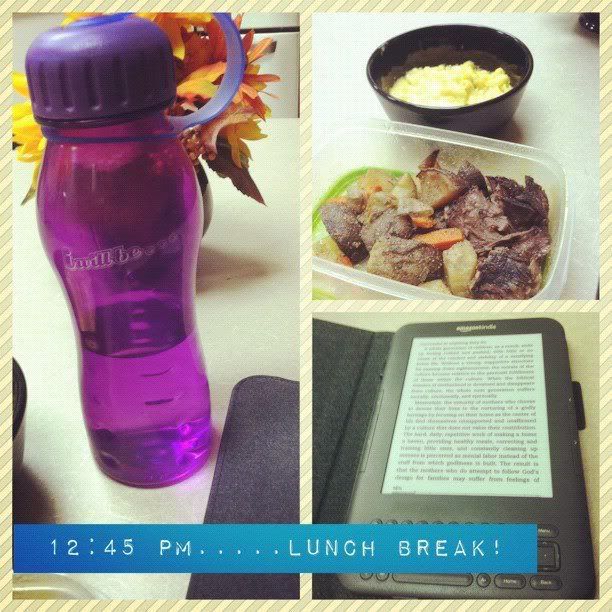
Lunch! Me and Kindle have a date!

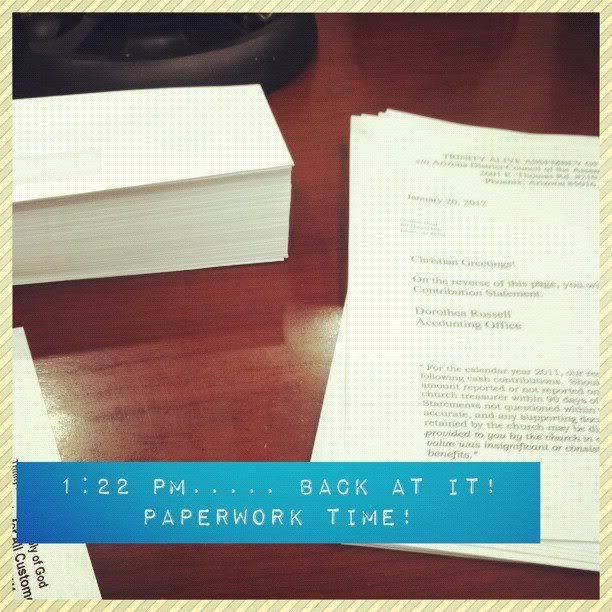
Photobucket

Photobucket

Photobucket
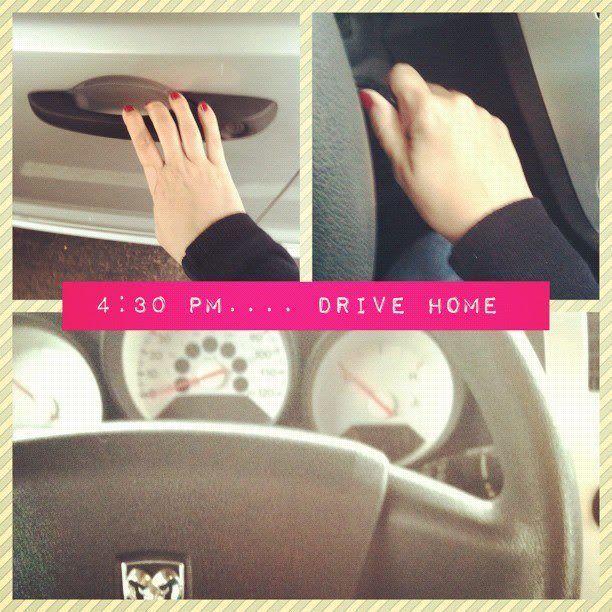
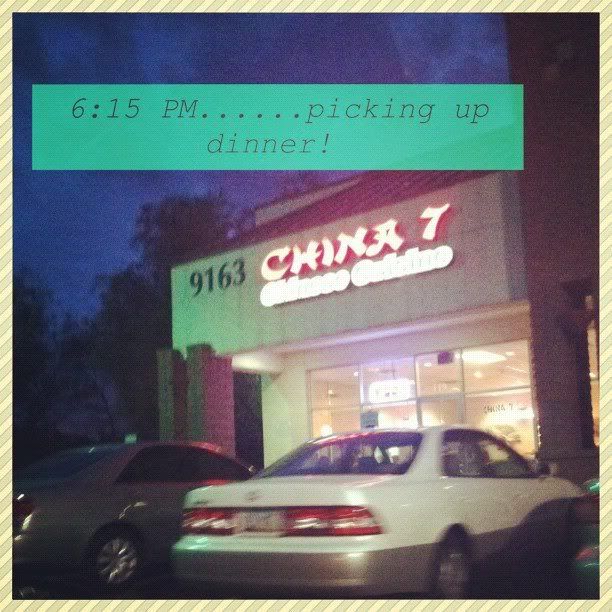
Head off to pick up Hubby from work. We're at Ava's daycare by 5:30 PM.

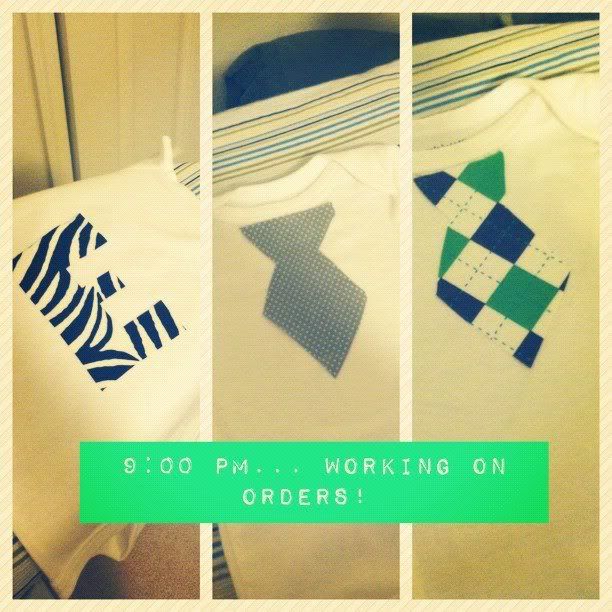
5:45 PM: We're making a quick stop at Wal-Mart, I loathe that place but they have the best selection of blank shirts and I have some custom orders to work on tonight. 

Photobucket

Photobucket

Photobucket


7:30 PM: We're getting Ava ready for bed. We read stories, sing songs and say our prayers. Hubby gets Ava ready for bed tonight so I can watch this;

Photobucket

I spend the next two hours watching The Bachelor and texting my friend Jessie back and forth while we watch together!

After that, I head to my studio {aka: my bedroom} to start working on these:

Photobucket

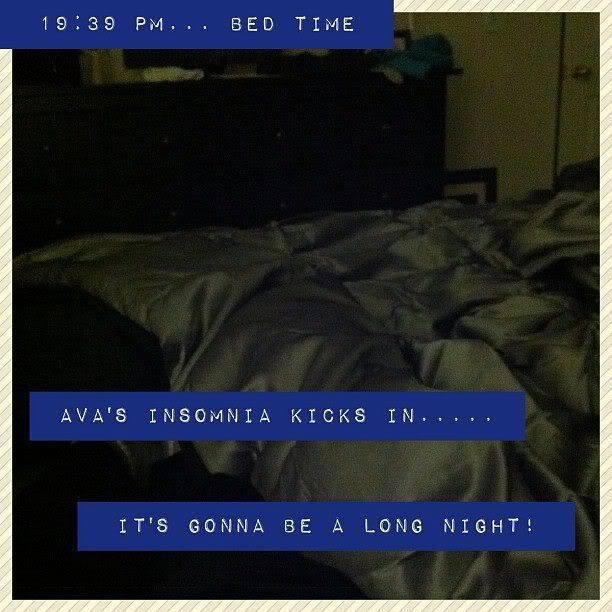
10:30 PM It's bed time, and just about now is when Ava's insomnia starts to kick in.
Photobucket

That's our day!

What do your days look like? DO you document them in any special way?

PS- My sister is coming to visit today! To celebrate we're having a sale in the shop! 30% off using code: CYBER30 at check out! Click here to get your shop on!

All images were taken with the Instagram app, labels were added with the Picframe app.

January 25, 2012

Sour Cream Coffee Cake & Ambiance Coffee #MyBaristaMoment

If you don't know by now that I'm a huge coffee fan, let me tell you again "I love coffee." A couple years ago I worked as a barista in a coffee shop, I had a lot of fun whipping  up my own creations. I love trying new flavors and new drinks, Hubby bought me a Keurig last year for Christmas and I love it. 

I headed to Smart & Final to try their line of Ambiance coffee, and whip up a yummy treat to go with it. I've never made a coffee cake before, so I wanted to try baking something new. I found a recipe on Pinterest that I loved for Sour Cream Coffee cake, and decided to make that. 

Photobucket

I had a great shopping experience at Smart & Final, everything I needed I was able to find easily. Their staff was more than helpful since it was my first time shopping with them. I was able to pick up my coffee, and all my ingrediants to make my coffee cake right there in the store. They had everything I needed including the baking pan that I didn't already own but needed. 

Photobucket

Photobucket

So, let's get started on making this Sour Cream Coffee cake! It's from www.foodnetwork.com 

Here's what you'll need:

Ingredients

  • 12 tablespoons (1 1/2 sticks) unsalted butter at room temperature
  • 1 1/2 cups granulated sugar
  • 3 extra-large eggs at room temperature
  • 1 1/2 teaspoons pure vanilla extract
  • 1 1/4 cups sour cream
  • 2 1/2 cups cake flour (not self-rising)
  • 2 teaspoons baking powder
  • 1/2 teaspoon baking soda
  • 1/2 teaspoon kosher salt

For the streusel:

  • 1/4 cup light brown sugar, packed
  • 1/2 cup all-purpose flour
  • 1 1/2 teaspoons ground cinnamon
  • 1/4 teaspoon kosher salt
  • 3 tablespoons cold unsalted butter, cut into pieces
  • 3/4 cup chopped walnuts, optional

For the glaze:

  • 1/2 cup confectioners' sugar
  • 2 tablespoons real maple syrup
Photobucket

Photobucket

Directions

Preheat the oven to 350 degrees F. Grease and flour a 10-inch tube pan.
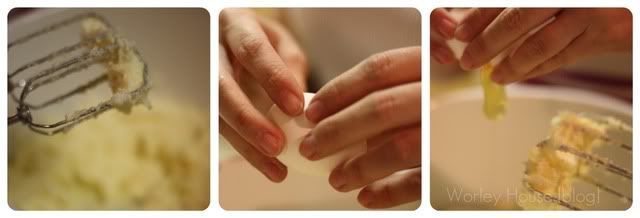
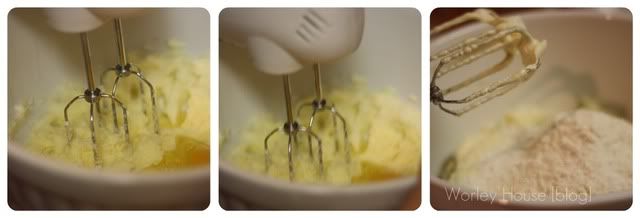
Cream the butter and sugar in the bowl of an electric mixer fitted with the paddle attachment for 4 to 5 minutes, until light. Add the eggs 1 at a time, then add the vanilla and sour cream. In a separate bowl, sift together the flour, baking powder, baking soda, and salt. With the mixer on low, add the flour mixture to the batter until just combined. Finish stirring with a spatula to be sure the batter is completely mixed.
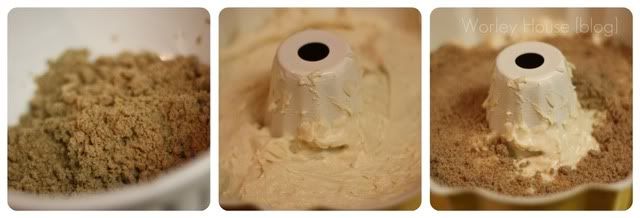
For the streusel, place the brown sugar, flour, cinnamon, salt, and butter in a bowl and pinch together with your fingers until it forms a crumble. Mix in the walnuts, if desired.
Spoon half the batter into the pan and spread it out with a knife. Sprinkle with 3/4 cup streusel. Spoon the rest of the batter in the pan, spread it out, and scatter the remaining streusel on top. Bake for 50 to 60 minutes, until a cake tester comes out clean. (side note: I did mine in reverse since I used a bunt pant instead of a fluted pan, still tastes the same but the presentation is a little different.)


Photobucket
Let cool on a wire rack for at least 30 minutes. Carefully transfer the cake, streusel side up, onto a serving plate. Whisk the confectioners' sugar and maple syrup together, adding a few drops of water if necessary, to make the glaze runny. Drizzle as much as you like over the cake with a fork or spoon.

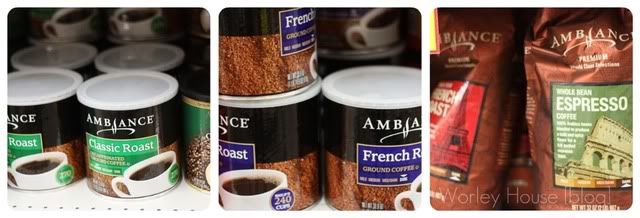
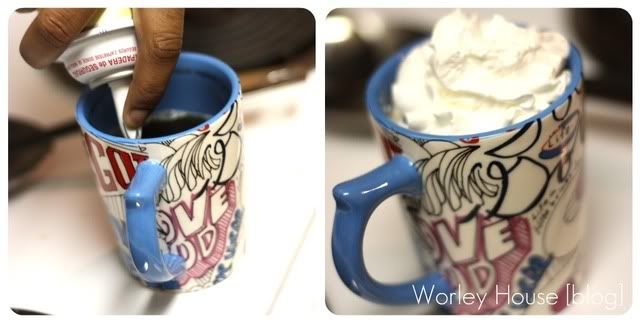
While my cake was baking I started to get my coffee ready. I choose the already ground French Vanilla house blend from Ambiance coffee. I loaded it into my Keurig and brewed. Hubby decided to have the same. 

Photobucket

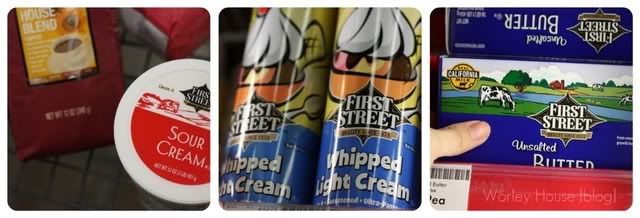
We also got fancy and topped ours with First Street Whipped Cream! 

Photobucket

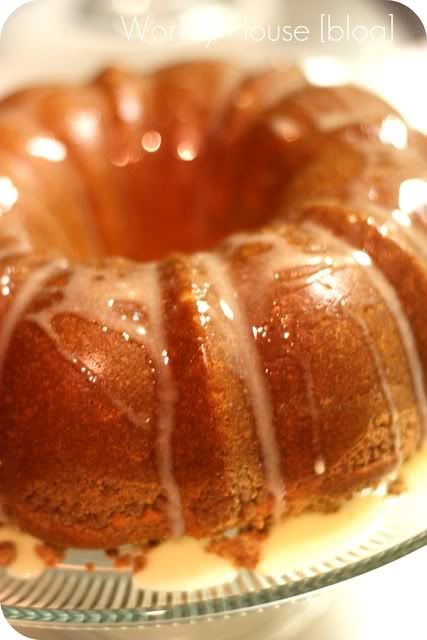
Here's what my coffee cake looked like after cooling and adding the topping, 

Photobucket

Paired with my yummy cup of Ambiance coffee and I was ready for a after dinner snack! 

Photobucket
We had a ton left over, and I took some to work the next day for my co-workers and they loved it! For sure a crowd pleaser! 

You can check out more of my shopping experience with Smart and Final on my Google+ page here.

Smart & Final has an offer for you, if you switch to Ambiance coffee from Smart & Final, they can go to www.smartandfinal.com/Ambiance2012 enter the code on the receipt from their purchase of Ambiance and be entered to win some of these amazing prizes: First Prize (one grand prize per week, 3 total over the campaign): DeLonghi BCO264B Cafe Nero Combo Coffee/Espresso Maker, a $200 value!, or one of six $50 SmartCash cards (Two winners per week, 6 winners total)

Also, visitors to the www.smartandfinal.com/Ambiance2012 will be able to vote for their favorite Ambiance Coffee recipe and everyone who votes will be entered for a chance to win $50 worth of Ambiance products! (6 winners - Two winners per week over the campaign)
This project has been compensated as part of a social shopper insights study for #collectivebias #CBias, as always I don't endorse anything professionally that I wouldn't personally all the products mentioned I have used personally. 

January 23, 2012

Blog Roll Monday: Project Nursery


Blog Roll Monday is a weekly feature where I share one of the blogs on my reading list and why I'm lovin' it, and probably why you should be reading it too!

*******

projectnurseryreal life project galleries! Tons of inspiration there.


Project Nursery is one of my fave blogs for nursery ideas and everything baby! They celebrate the best in nursery design, parties and all stuff baby! I found them to be a great resource when I was pregnant with Ava.

One of the things that I love about them is how they celebrate and encourage their readers! They have monthly reader projects where you can vote on your fave nursery's and parties done by actual readers! It's such an awesome tool to browse different design ideas all in the same place and be inspired.

A couple months back I even interviewed for a job with Melisa and Pam. Both ladies couldn't be more sweet! And, even though I didn't get that job I fell in love more and more with what they are doing and how they are encouraging Moms to design more and sharing their love of anything and everything baby!

They are always showing the latest in design and party. Baby gear too!

When you visit their site you'll have so much fun checking out everything they have to offer. One of my faves is the

I have my own linked there too! You can visit Ava's nursery here, and see her first birthday here.

January 20, 2012

Shredded Chicken Tacos {Crock Pot Style}

I don't know why I haven't shared this recipe with you yet on the blog! It's easily one of our favorite meals and we have it usually a couple times per month! It's made entirely in the crock pot, which I love since I'm a working Momma anything I can make in my crock pot that is good, is a WIN for me!

This is a really easy meal, it serves a lot of people and it's always a home run for my family and friends!

Here's what you need: (feeds 4-5 people)
3 frozen chicken breasts
1 12 oz bag frozen corn
1 can black beans
1 can Rotel (tomatoes & green chilies)
1 taco seasoning packet
1 cup chicken stock

Directions:
Throw your frozen chicken breasts (yes, frozen) into the bottom of your crock pot, then add in your corn, black beans, rotel and taco seasoning on top. I don't drain anything I just throw it all in there. Stir together, then add your chicken stock just to keep it moist while cooking.

Photobucket

I usually do all this the night before and then turn it on before I leave for work in the morning. Turn it on low and let it cook for 8-10 hours. It's done by the time I get home from my work day. If you're home all day too you could still do the same thing.

Photobucket

When I get home, I take two forks and pull out all the chicken and shred it and then add it back into the crock pot to cook together for about 10-15 more minutes.

Photobucket

While that's going I get all my tortillas, and toppings together. I like to use corn tortillas and bake them in the oven but you could use any type of tortilla or taco shell you'd like. I top mine with cheese, lettuce, salsa and sour cream.

Photobucket

That's it! Eat and enjoy! For our family of three there's always left overs and they are great the next day for nachos, tacos again or even on a salad!

If you make this let me know your thoughts and if you love it as much as our family does!

Happy Friday!

January 18, 2012

Instagram:: Changing the Way I capture Life!

I got an Iphone for Christmas! It was actually an early Christmas gift from the Hubs, I'd been hinting that I wanted one for a while now, and when my upgrade came up I made the switch and I'm excited that I was able to get it.

Love it! One of my fave apps has been Instagram. I've been using it for a while on the Hubby's Itouch but since now I have it on my phone I've been able to capture those every day moments and share them instantly with everyone.

Friends and family really love me for it, I am sure! :)

See what I mean......

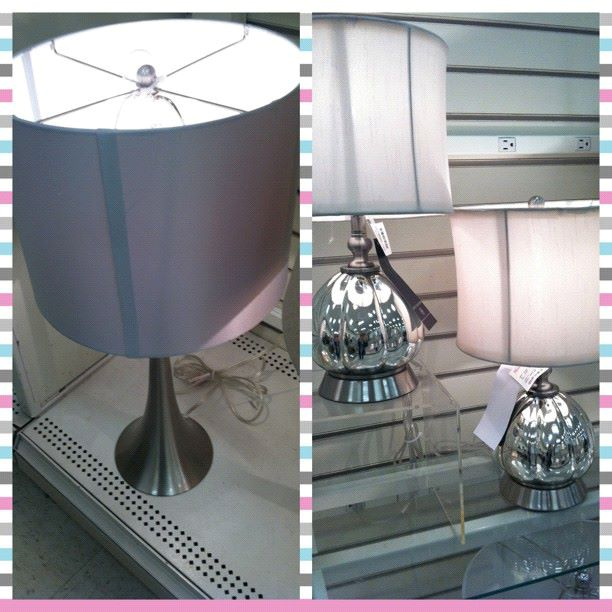
A little shopping at Homegoods.

Photobucket

Dance party captured.

Photobucket

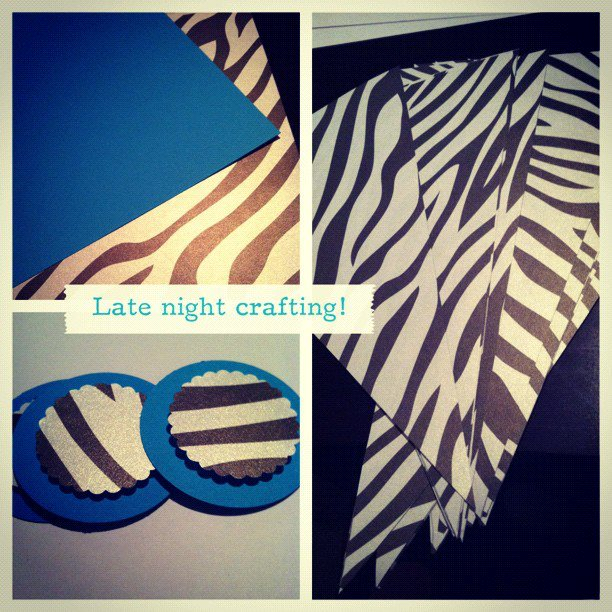
Birthday party crafting is happening.

Photobucket

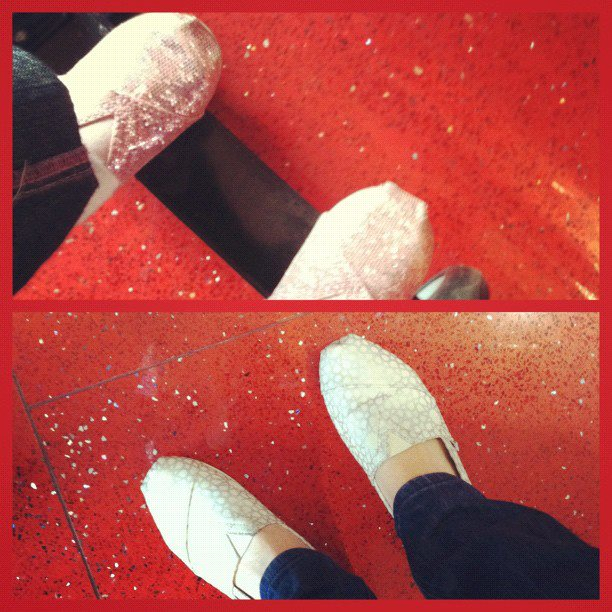
Mommy and baby TOMS.

Photobucket

Sunday walk into church.

Photobucket

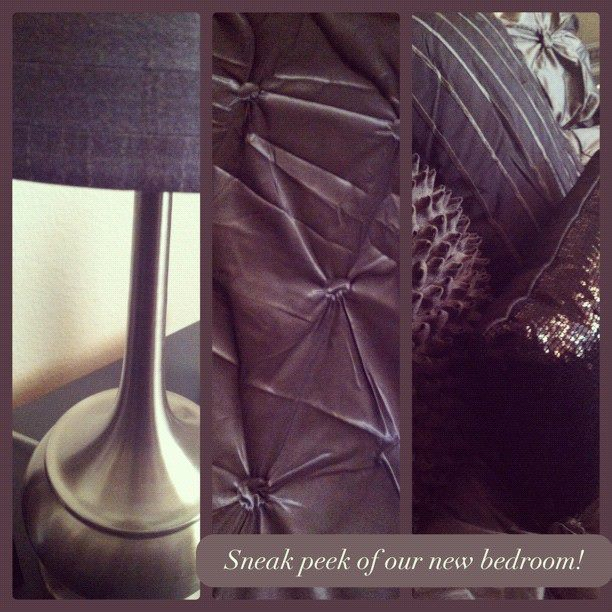
New bedroom decor in process.

Photobucket

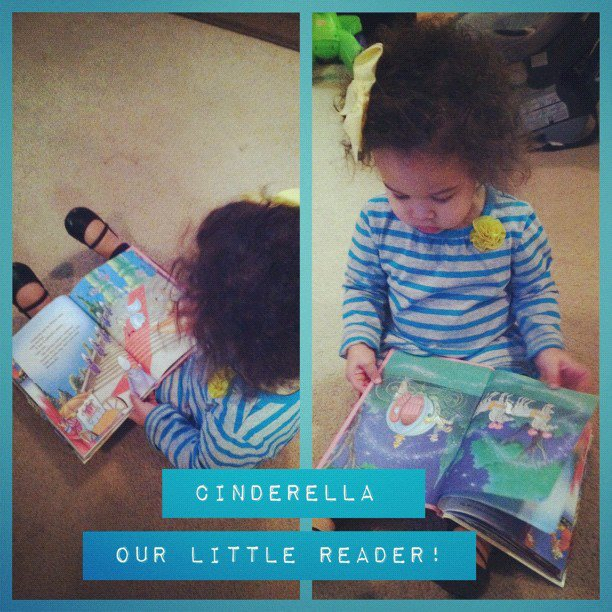
Reading. Yup, check!

Photobucket

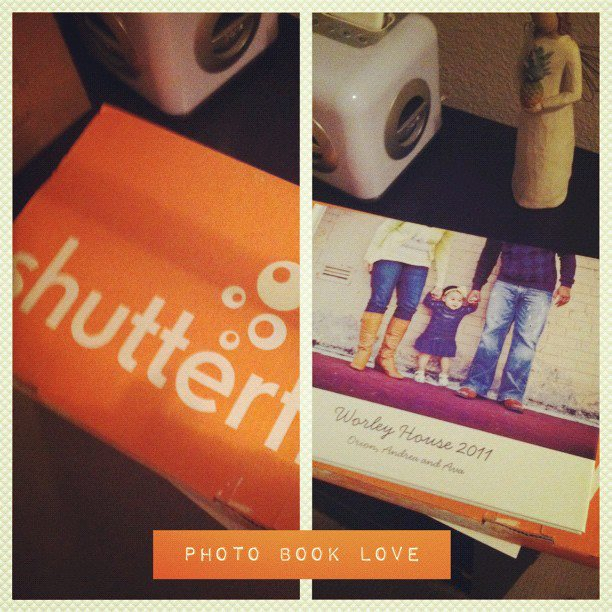
Little orange box arrived.

Photobucket

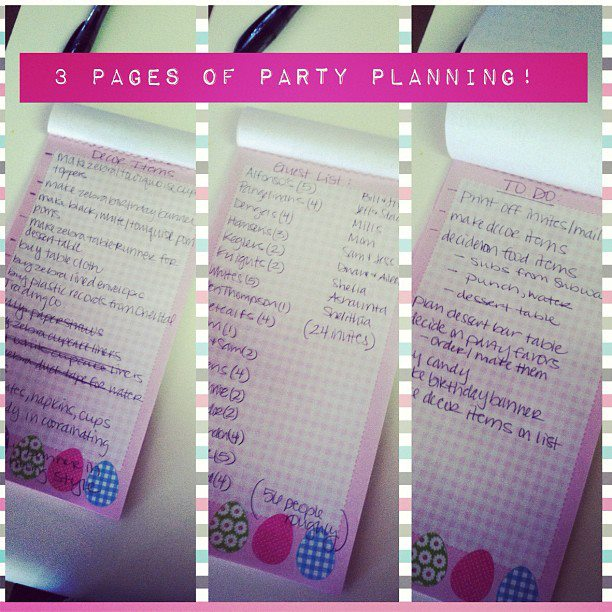
Party Planning in progress.

Photobucket

Capturing life one Instagram at a time.

I also really love the PicFrame app too, it allows me to make these super fun collages and add the labels! So fun!

I'm really excited to make some Sticky Grams, that turn your Instagrams into magnets. I can't wait to cover the fridge.

What about you? Do you have any fave apps for picture taking?

Do you Instagram? You can find me here (photosbyandrea)


January 16, 2012

Blog Roll Monday: Nesting Place


Happy Monday friends! How was your weekend?

Miss America and The Golden Globes were on this weekend, it was like my Super Bowl! This morning, I am tired but I am excited about this week. We start some exciting stuff here in the Worley House this week, but first it's time for me to share with you another blog I'm lovin' from my reading list.

Here we go! 

********

I don't know how or really remember how I stumbled upon The Nester's blog, but I'm so glad I did. It was shortly after our move to Arizona two years ago that I did.

What I love most about her blog is her mission and desire to share with people about being intentional in your home. Loving where you live, and being intentional on how and what you fill it with!

Her motto: "It doesn't have to be perfect to be beautiful."

I love that.

I've been so guilty of this many times, filling a space "just because it has to be decorated." And, also not having people over to my home because it's "less than perfect." Or being ashamed {I know, stupid} because we live in a rental and it's not really "our home."

The Nester, has reminded me time and time again that people come to your home to see you and visit your family, not your things. To let go of all that and embrace your home, and make it one.

She's inspiring to me because she lives in a rental now, even after owning her own home once. {we're in the same boat.} And, it's ok.

Here's what she says:
I know what it’s like to want a pretty house and not have much to work with and still have to get dinner on the table and nurse little children. I know what it’s like to rent and live with white walls and ugly carpet. I have decorated on no budget in the past. I’ve decided not to wait until my house is perfect to share it, use it and love it. I regret those years where I spent my time wishing my home was something more and not enjoying what I had.

To read more about The Nester and her blog visit her here.

January 15, 2012

Hello, I love you: Blue & Pageant Gowns


*******

I've had pageants and Miss America on my brain the last week. Searching for ideas for Miss St. Paul and my friend Elizabeth. I've always been very drawn to blue gowns, I wore a couple blue gowns myself in my pageant days. 

So in my hunting and research this week here's some gowns I've loving that just so happen to be blue! Here's a look inside my pageant brain;


This one has been a favorite since I saw it on Miss USA 2010 Kristin Dalton a few years ago!


What blue things are you loving these days?! Linking up with Heather today over at Angel Face Designs.

January 13, 2012

{DIY} Christmas Card Book

I mentioned last weekend that I was making something special with the Christmas cards we received this year from friends and family, and today I wanted to show you what I came up with.

I came across this idea from Eighteen 25, I really loved the idea but I knew I wanted to use all my own stuff that I already had on hand. I'm desperately trying to get rid of my scrap booking supplies so that's why I wanted to use what I already had, just to get rid of it and make something with it.

Here's what I came up with;

Photobucket
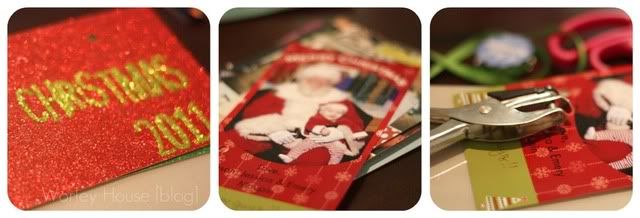
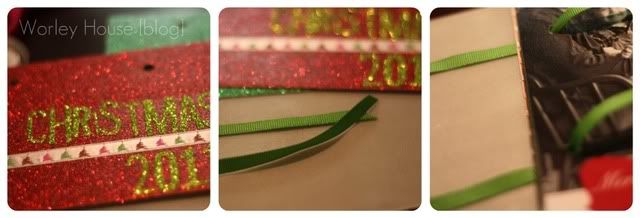
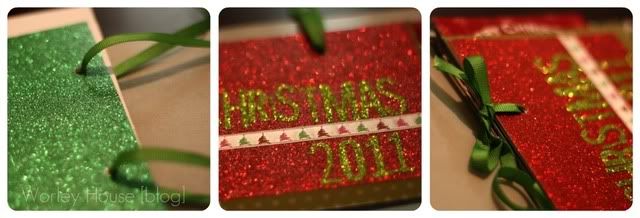
First I used some glitter paper to make a cover, using some sticker letters I spelled out "Christmas" and the year. Next, I used a hole punch to punch two holes into all my cards for my book.

Photobucket
I added some ribbon trim to the front as well. Then cut two strips of coordinating ribbon to string through the holes to make my book.

Photobucket
After all the cards we strung through I added a cover to the back and then the front one again. Then I loosely tied the ribbons so that you could still open and flip through the book easily.

Photobucket

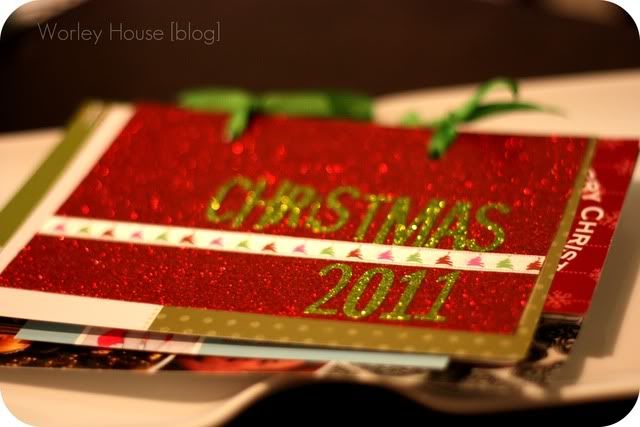
Here she is all finished. I plan on making these every year now and displaying them so guests can look at them during the holiday season.

What do you think? Have you done anything special with your cards lately?

Linking this project with:

iheart: my Clarisonic!

A few of my favorite things, stuff I love, things I actually use and letting you know why
Iheart them so much!

*****

Source: ulta.com via Andrea on Pinterest


I first heard about Clarisonic through Whippy Cake, Becki talked about it in a video I watched on her site. I just had to know more about this awesome beauty tool. After doing some research and feeling a little overwhelmed about the price (it's kinda pricey) I began to mull it over a bit, for a few months actually.

I've always had really bad skin, mostly due to my PCOS. I remember years in high school having some of the worst breakouts ever! Going through college where you had late nights of studding and papers to write, washing my face was sometimes on the lowest priority. I've tried just about every cleanser out there, you name it I've probably tried it.

Actually the best skin I've ever had was when I was pregnant. Imagine that. Then about 3 years ago I found the best skin cleanser I've tried and it's been wonders for my skin. Still, I'll admit I don't always take the best care of my skin (ie: washing it every night and taking my make-up off) and it shows at times.

After hearing a lot of recommendations about the Clarisonic I decided that I really wanted to make the investment. After saving for a few weeks I purchased it after Christmas and have now been using it now for over a week. And let me tell you...it's WONDERFUL!

It really helps clean your face well, leaves it feeling super soft too. I use my own cleanser with it. Nothing fancy or special, it just deep cleans my face and leaves it feeling refreshed and a lot cleaner. I saw a difference in just 1 use.

Here's my suggestions for getting a great deal on it, since it's kinda expensive (in my opinion.)

I bought the Clarisonic Mia, through Ulta.com and got free shipping. They have deals like this all the time, so I suggest buying it through a site like that. They also have a great rewards program too, so you can earn points as well.

My other suggestion is buying it through Ebates.com you will get 3% cash back if you go through them, and then buy from Ulta.com.

It's a product I really love, and I think it's worth the investment.


Edited to Add: Alicia had some really great questions that I thought I'd answer here as well. I did try both the Neutrogena and Oil of Olay brushes before buying the Clarisonic. The biggest difference is the speed of the brushes. They aren't as fast, and don't give you that "deep" clean feeling, and they don't exfoliate as well because they have a lower speed. The Mia is faster, and the Mia 2 has two cleaning speeds. After spending $14 on the Neutrogena one, and borrowing the other one I decided the Clarisonic was worth the investment. After having it for a week now and using it, I'm glad I went with this choice. It's over all better than other cleaning brushes out there. 

What products are you loving these days?! Tell me in the comments below.

I was not paid to tell you about this product, none of these companies even know who I am. This is just a product I really love and use myself.

January 11, 2012

Shh, It's Ok they're only little once.......

Our nightly routine begins after dinner time, usually around 7 pm we start cleaning up dinner and while I do that Hubby is giving Ava her bath and getting her dressed for bed. I come in sometime last after I'm done cleaning and we say prayers together, we read a story together.

Recently as Ava's sleep habits have started to change we've started taking turns putting her to bed each night. She's always been a great sleeper until 4 months ago when we took away the pacifier. That was a rough stretch for us. We had a few sleepless nights in a row and then she seemed to be good for a couple weeks.

Then out of no where, I think probably due to visiting friends out of town a couple weeks in a row where she slept with us she got used to it and now has been doing this at night;

7:30-8 ish she goes to bed.
Midnight she wakes up.
Falls asleep while I rock her.
Put her back in crib, and instantly wakes back up.

We rock again, and again. Still she wakes back up.

Then, I give in and bring her in bed with us. Where she falls fast asleep into a deep slumber.

This has been. going. on. for. weeks!

I worry about her crying it out.

I worry that she isn't getting enough sleep.

We've tried everything I can think of.

I worry that she's developing bad sleep habits, or that it's a bad practice we've started letting her sleep with us when she wakes up in the middle of the night.

Going home for Christmas for two weeks, didn't help our case any. She didn't want to sleep in her own crib there either.

A couple nights ago she woke up again, same thing wouldn't go back to sleep. I drug my sleepy self down the hall to her room. I seamlessly picked her up and fell into the rocking chair with her and began to rock her back and forth, back and forth.

I must have fallen asleep myself, because when I woke up I found myself in a pain because my neck hurt from the position I was in. I didn't know what time it was, all I knew was that I was uncomfortable.

I walked back down the hall with my child in arms, her heavy sleepy body curled into me and we went back to our bedroom together. I laid her down, in the middle of us and she rolled over and continued to sleep.

It was there that I listened to her breathe, her snoring too. I sat up watching her in the dark that night. Orion woke up and asked what I was doing.

I told him; "Watching Ava sleep, I could just watch her for hours."

He said; "Yeah, me too."

Hey Babe; "Are we developing a really bad habit by letting her sleep with us?"

"Shh, he said. "She's only little once, It's ok."

That statement got me thinking that night as I lie there in bed watching her sleep.

There are times when we "break the rules" during our parenting by letting her sleep with us. Sometimes we do the opposite of "what the experts" say you should or shouldn't do.

Orion reminded me that everything is not so cookie cutter when it comes to parenting. I am a firm believer now that every parent knows their child the best.

Ava is happy. She's is a vibrant little girl.

It's ok to break whatever the rules are every once and a while I tell myself, she is after all only small once.

This phase will pass, and soon we'll be onto the next challenge. The next thing with her.

Even though some phases and challenges seem to last longer than others, I am reminded to enjoy the season we are in.

I'm a firm believer that each Parent knows their child best, break your own ground. Do what you feel and know in your heart is best. Make your own rules for your family.

January 10, 2012

{Sweetheart} with Lifestyle Crafts

Today, Lifestyle Crafts is release their Sweetheart Collection! Just in time for Valentine's Day. I decided to make some sweet pink cupcake toppers with my new Heart dies. These will be the perfect addition to those valentine cupcakes I want to make for Ava & Hubby!

Photobucket

I simply used a 3 inch circle punch to punch out 12 circles, and then ran my dies through on red glitter paper cutting out my hearts. I used some craft glue to adhere my hearts to each circle.

Photobucket

I also used some foam squares to make some of the hearts raised and "pop" off the toppers!

Photobucket

Then I used some glue dots to a fix a tooth pick to the back of each one. 

Photobucket

Really simple and fun, that always dress up plain cupcakes. 

Photobucket

Are you making any fun crafts for Valentine's Day? 

Photobucket

Visit Lifestyle Crafts here. Check out their full collection of Sweatheart dies here.


Looking to snag some Lifestyle Crafts products of your own?
Use my promo code and get 20% off your entire purchase!

LinkWithin

Related Posts Plugin for WordPress, Blogger...