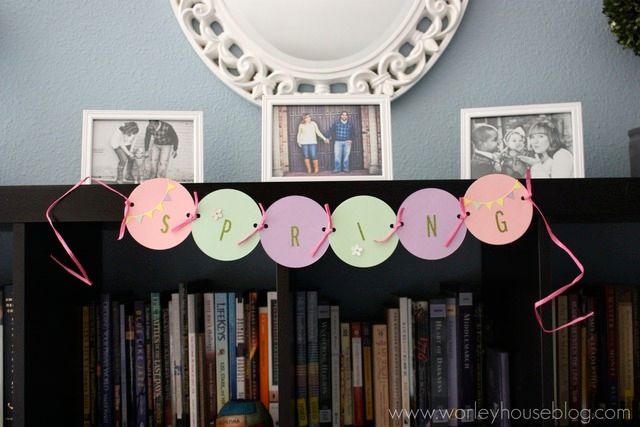
For this project I also used the Nesting Circle dies, these cut perfect circles, and I love them! Along with some stickers and letter stickers.
Here's what I did for this project; first I cut my circles. Six of them, one for each letter. In three different colors.


Next, I cut my bunting from the dies and some yellow paper. I used some purple and green too to make the banner different colors.

Then I used some glue and attached the banners to the edges of two of my circles. I choose the first and last circles to attach them too.

I also used some pink rafia that I had left over to attach the circles to each other. Then I added the letters to spell the word "Spring." And, also some stickers to jazz it up.
I choose to hang it on our bookshelf in the middle of the living room. I love how it turned out, the perfect touch of Spring!

*****
Use my code to get an extra 20% off your purchase from Lifestyle Crafts. Check out their Big Top dies or snag something else you love!


