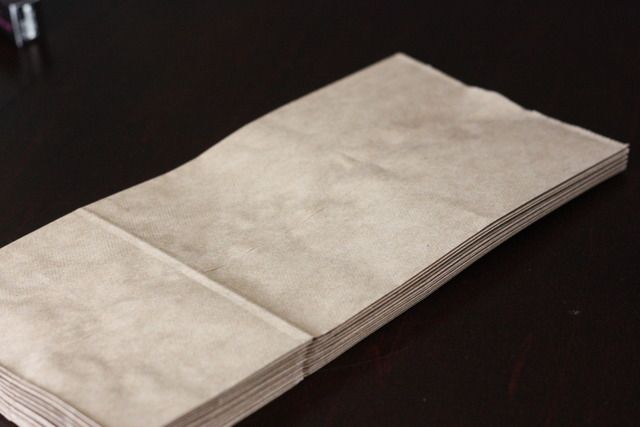
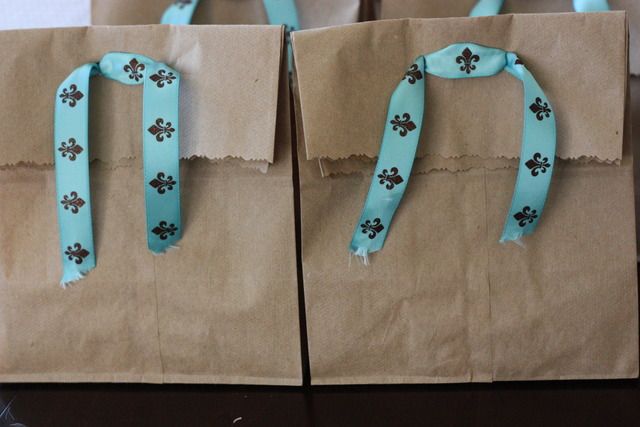
These little gift bags are so simple. I started with 11 bags (this is how many gifts I needed to bring), and cut the first 4 inches off the top of the bags.
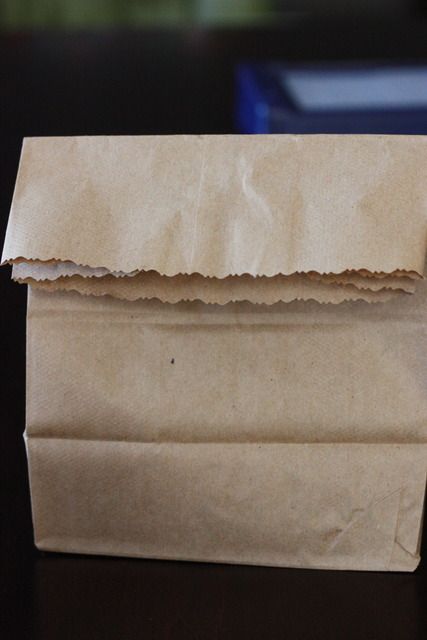
Using a pair of decorative scissors I just cut a line across the top with them to make a decorative edge on the bags.
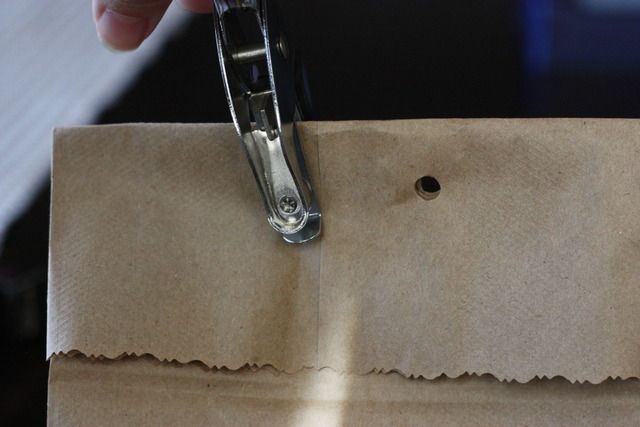
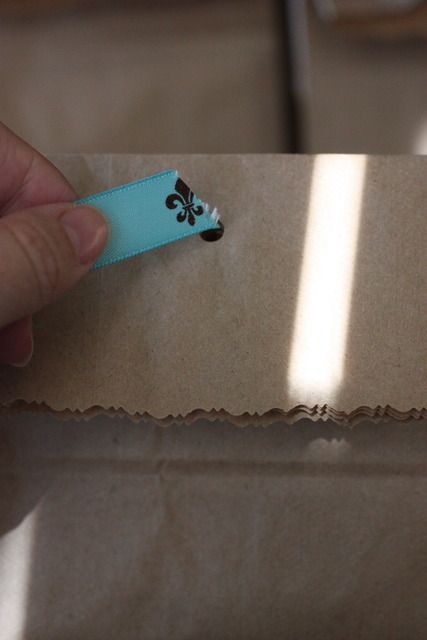
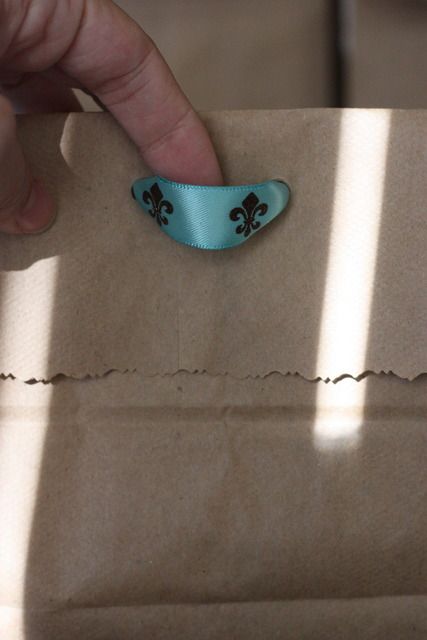
Then I folded over the tops of the bags, and then using a hole puncher punches two holes in the middle of the bag an inch apart.
Repeat till all your bags are punched.
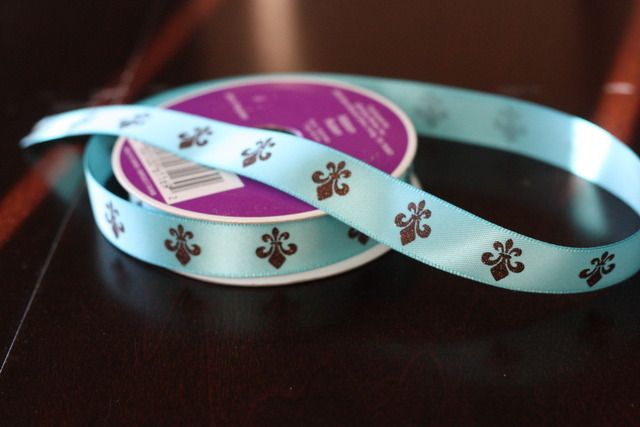
Then using some fun ribbon to tie my packages together, I cut 11 strips of ribbon 10 inches long.
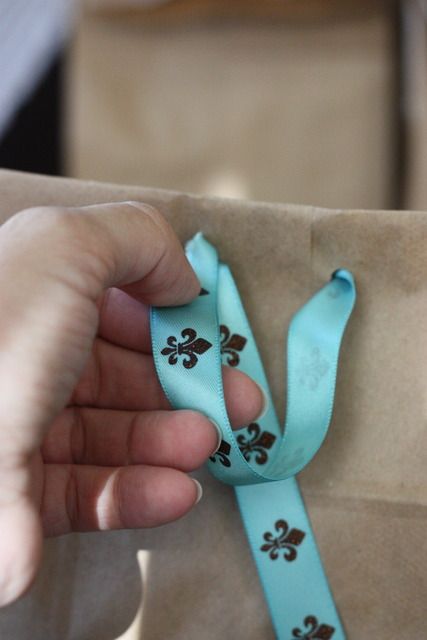
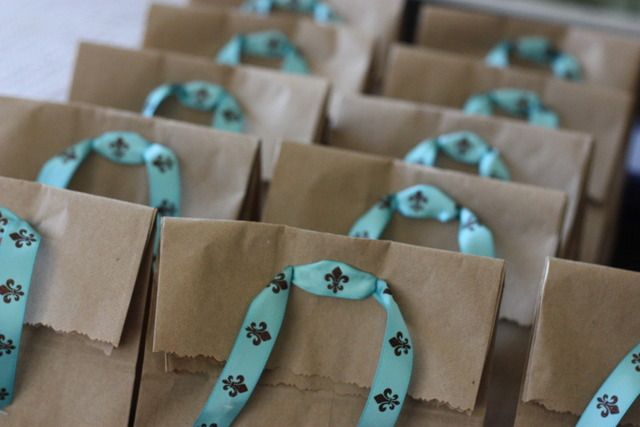
Now you'll want to thread your ribbon through the holes. Thread it forward facing instead of behind you, this way you'll be left with the design from the ribbon showing forward like in the images below.
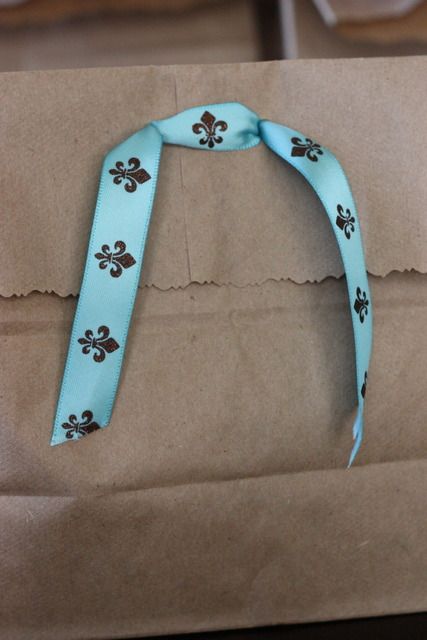
Then you'll take each end of the ribbon from behind and thread them in the opposite holes to tie your packages.
They will look like this when finished:
So pretty, and like I mentioned there endless possibilities with these. Switch up the ribbon, add washi tape to the bottoms of the bags for more decoration too! You could also stamp the fronts of them, perfect for different holidays.
********
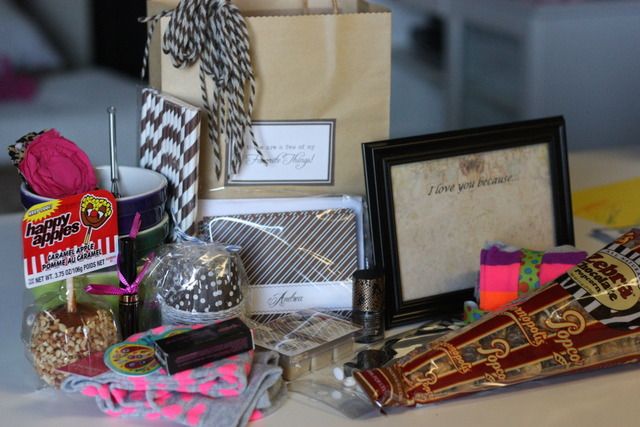
Here's all my loot from The Favorite Things party. So many amazing goodies.
This is such a fun party to host and throw with your best girl friends.
To find out more on how you can throw your own parties visit Destiny's blog and read this post.


